
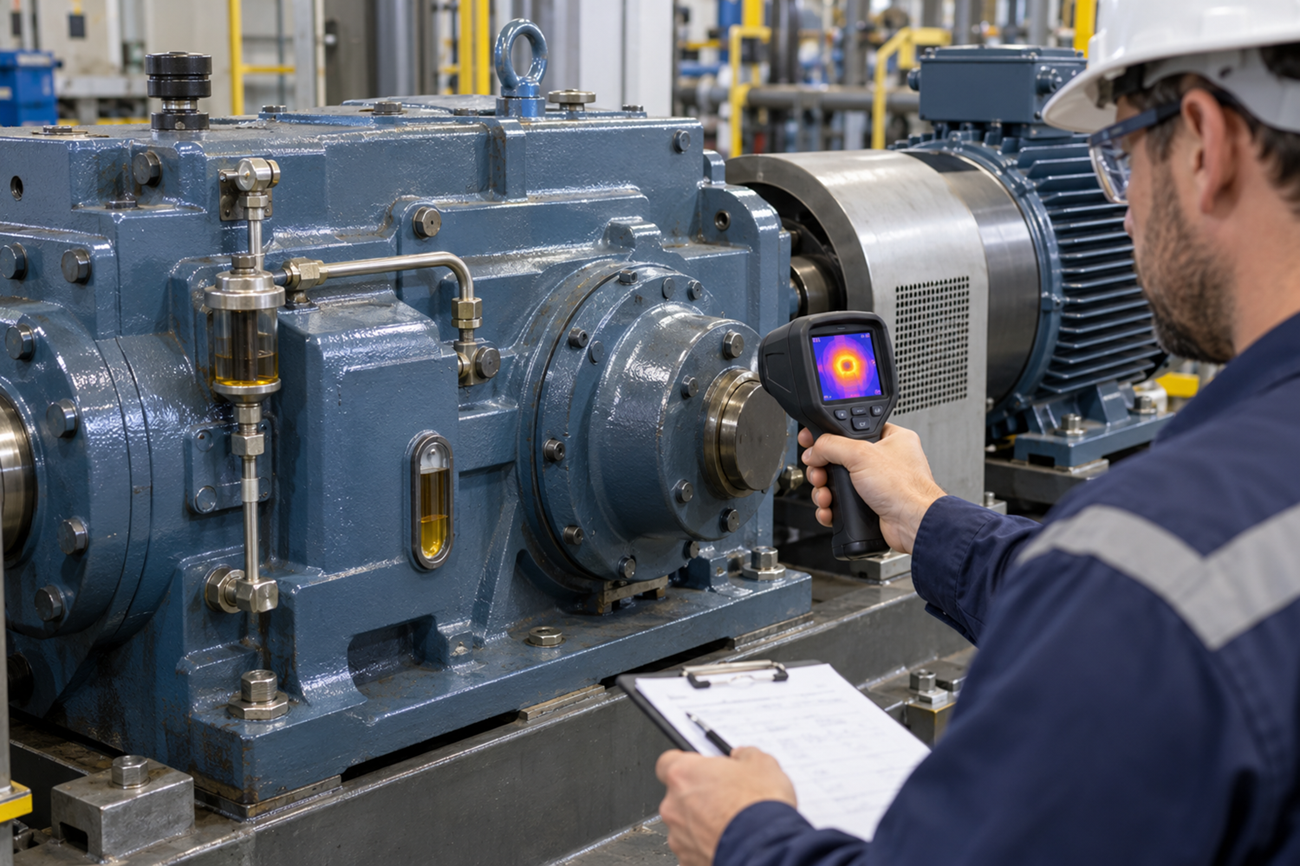
An overheating industrial gearbox can signal a problem with oil, cooling, load, or worn parts. Low oil can leave gears and bearings without enough lube. Too much oil can also cause heat. Dirty air vents or a faulty cooler may keep heat trapped in the unit.
Start by checking the temperature reading. Note where you took it and compare it with the limits in the OEM operating manual for your gearbox model. A hot housing alone doesn’t indicate oil temperature or prove which part has failed.
Next, record the ambient (air) temperature near the unit. Add the load, speed, and time since startup to your maintenance inspection log. These details help you compare the current heat level with past readings.
Keep photos and thermal images when available. A clear record helps your team spot changes, find the cause, and check whether a repair worked.
Is Your Industrial Gearbox Too Hot?
A gearbox can feel hot during normal use. Touch alone cannot tell you if it is too hot and may cause a burn. Check the reading against the limits for your model.
Compare the Reading With the Manufacturer’s Limits
Find the OEM operating manual and check the limits for oil, bearings, and the housing. No single normal industrial gearbox operating temperature fits every unit.
Also, check the alarm and shutdown settings. An alarm warns of a problem. A shutdown setting triggers a stop. Follow the maker’s instructions if a reading exceeds its limit.
Separate Surface Temperature From Oil Temperature
Gearbox oil temperature and housing temperature are different readings.
- An infrared thermometer reads the outer surface.
- A thermal imaging camera shows surface heat patterns.
- An installed oil sensor measures heat at its sensing point.
Do not treat a housing reading as the oil sump temperature. For a fair comparison, use the same tool and marked test point each time.
Check the Change From Normal Operation
Compare new readings with your baseline, the record of normal use. Record these details with each reading:
- Date, time, and test location
- Temperature and units, such as °F or °C
- Ambient temperature near the gearbox
- Load and rotational speed
- Runtime since startup
- Any recent oil change, repair, or process change
A sudden increase in gearbox temperature needs prompt review. A slow rise also matters. Compare readings under similar loads and speeds to see whether heat is building over time.
When Should You Stop an Overheating Gearbox?
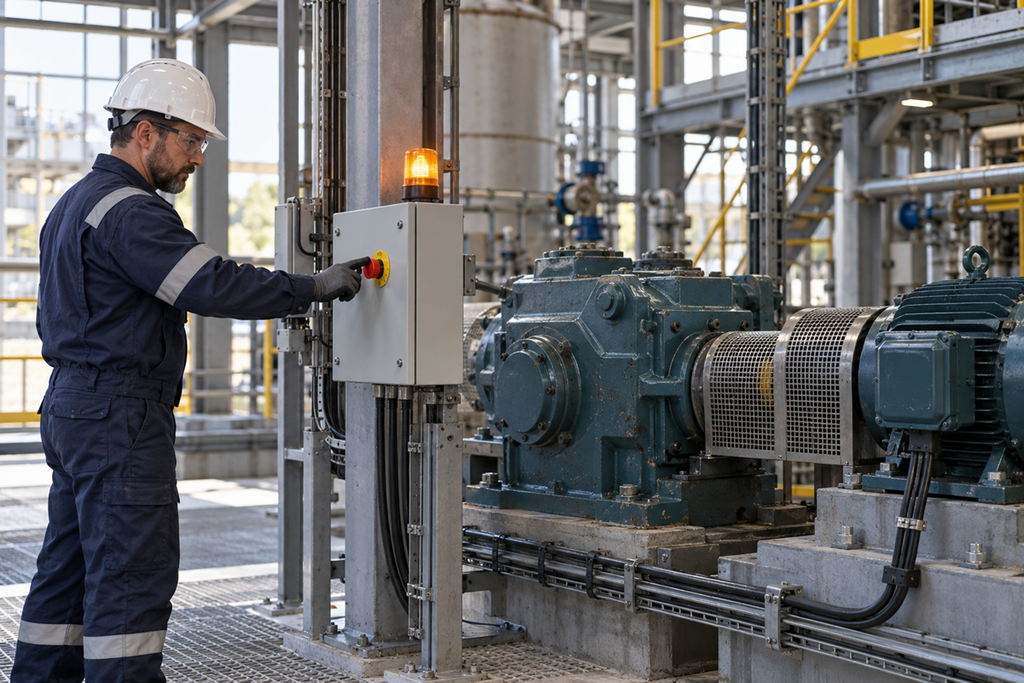
Stop the gearbox if it reaches the manufacturer’s shutdown limit or a protective trip occurs. Follow the site’s stop procedure. Do not keep resetting the trip to resume work. Other signs that call for a prompt stop and review include:
- Loss of oil pressure or flow in a unit with pumped lubrication.
- New, severe grinding or knocking sounds.
- A sharp rise in vibration.
- A major oil leak or a fast drop in oil level.
- Smoke or signs of fire.
Heat alone may not reveal the cause. For example, an overheating bearing may require oil checks and vibration analysis before you can confirm the fault.
Separate Running Checks From Hands-On Inspections
You may be able to read fixed gauges or take thermal images from a safe point while guards stay in place. Follow your site’s rules for these checks.
Before removing guards, opening covers, or touching parts, stop and isolate the machine. Follow the site’s lockout/tagout procedure, control stored energy, and let hot parts cool.
Record What Happened Before the Stop
Add the following to your gearbox overheating inspection log:
- The alarm code, trip time, and temperature.
- The load, speed, and oil pressure, if available.
- Any new noise, vibration, leak, or smell.
- The action taken and the person notified.
These notes help the repair team trace the fault and plan the next check.
What Should You Check First?
Start your gearbox overheating troubleshooting checklist with five checks: heat, oil, cooling, load, and signs of wear. Follow the maker’s limits and your site’s stop rules before you begin.
Use this table to guide the checks and record your findings.
| Check | What to inspect | What to record |
| Temperature | Confirm the reading and test point. Compare it with the maker’s limit. | Reading, °F or °C, location, tool, date, and time |
| Lubrication | Check the oil level by the method in the manual. Review the oil type and condition. | Level, oil product, ISO viscosity grade, and last change date |
| Cooling | Look for blocked air vents, dirt on the housing, or a fan fault. Check the cooler where fitted. | Fan status, air temperature, and cooler readings |
| Load and speed | Check for changes in output, runtime, or the equipment being driven. | Motor current, RPM, process load, and time since startup |
| Mechanical condition | Note new noise, leaks, or excess vibration from a safe point. | Location, symptoms, photos, and available vibration readings |
Manufacturer guides list oil level, old or dirty oil, blocked airflow, and cooler faults as causes of high gearbox temperatures.
Keep each reading in one gearbox temperature monitoring sheet. Write “not measured” when data is missing. Use the same marked test points on each visit so your team can track changes.
Save both a clear photo and a thermal image when possible. These records support gearbox baseline temperature comparisons and can show whether a repair reduced heat.
Could the Oil Level or Lubricant Be Causing Excess Heat?
Oil helps keep gears and bearings from rubbing together. The wrong level, wrong oil, or poor oil condition can cause industrial gearboxes to overheat.
Check Oil Level Using the Correct Procedure
Follow the gearbox oil level inspection procedure in the manual. The method may depend on the mounting position, oil temperature, and whether you must stop the unit.
Check the oil sight glass or other level indicator as directed.
- Too little oil may leave gears and bearings without enough lube.
- Too much oil can cause oil churning, which adds drag and heat.
- The wrong mounting position can affect the required oil level.
Do not add oil just because the gearbox runs hot. Manufacturer guides list both low oil at bearing points and excess oil as possible causes of high temperatures.
Confirm the Oil Specification
Check the oil label and service record against the manual. Record the product name, ISO viscosity grade, and required manufacturer approval.
If the gearbox overheats after an oil change, review what changed. Was the right oil used? Was the correct amount added? Was another product mixed in?
Do not switch to thicker oil or add an additive without checking the maker’s guidance.
Inspect Oil Condition and Service History
Look for foam, cloudiness, sludge, or metal debris where you can safely inspect the oil. Note leaks around the shaft seal, drain plug, and housing.
These signs can guide the next test, but looks alone cannot confirm oil health. Gearbox oil analysis can check:
- Kinematic viscosity, or how easily the oil flows.
- Water content and solid contamination.
- Wear debris from internal parts.
- Lubricant oxidation and acid number, which help assess oil condition.
Use the approved gearbox oil sampling procedure. Label the sample with the asset ID, date, oil hours, and sample point.
Record: oil level, check conditions, oil specification, last change date, top-ups, visible findings, leaks, and oil sample ID. Keep these details with the temperature readings so the repair team can compare them.
Is the Cooling System Removing Heat Properly?
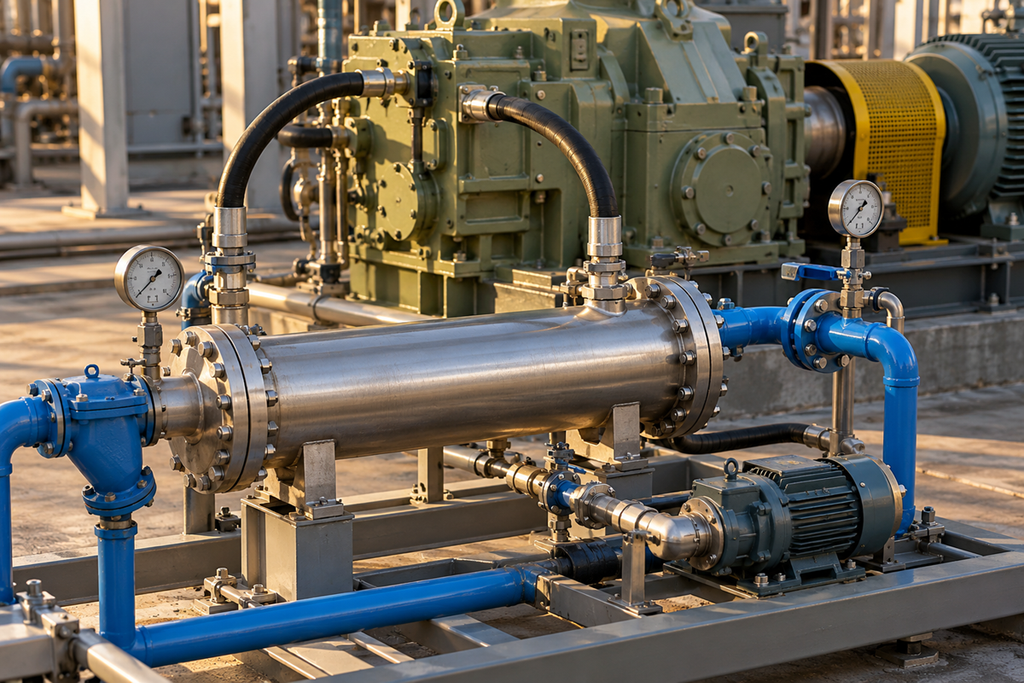
A gearbox needs to shed the heat it makes. Blocked airflow, dirty cooling parts, or poor coolant flow can let heat build up, even when the oil level is right.
Inspect Airflow and Housing Cleanliness
From a safe point, check whether the cooling fan runs as designed. Look for blocked air intakes and dirt on the gearbox housing. Dust buildup can limit heat loss.
Also check the area around the unit. Poor ventilation or heat from nearby equipment may raise the ambient temperature. Manufacturer guides list dirty air passages and high air temperature as possible causes of overheating.
Stop and isolate the machine before cleaning parts or removing guards.
Check the Oil Cooler and Coolant Supply
First, identify the cooling system fitted to the gearbox:
- An air-oil heat exchanger transfers heat from the oil to air.
- A water-oil heat exchanger transfers heat from the oil to cooling water.
- A cooling coil, where fitted, removes heat from inside the unit.
Follow the manual for gearbox oil cooler troubleshooting. Check the coolant supply for dirt, deposits, leaks, and faults.
Record the cooler inlet and outlet temperatures at marked points. Note which readings are from oil and which are from water or air. A temperature difference alone does not prove that the cooler works well. Flow and load also affect the result.
Check Oil Flow Through the System
At the lubrication pump, review the pump, oil filter, and oil strainer. A blocked filter or pump fault may reduce oil flow through the cooler. Use installed gauges and approved test points. Do not open hot, pressurized lines.
What to record:
- Ambient temperature and fan status.
- Dirt buildup, blocked vents, or nearby heat sources.
- Oil and coolant inlet and outlet temperatures.
- Oil pressure and available flow meter readings.
- Filter differential pressure, where measured.
- Cleaning dates, leaks, and any cooling-system alarms.
Has the Load, Speed, or Duty Cycle Changed?
A gearbox may run hotter after changes in how the machine operates. More output, longer shifts, or frequent starts can increase the unit’s demands. Check what changed before it started overheating.
Check the Load and Driven Equipment
Look for jams, tight belts, or binding in driven equipment. These faults can make the gearbox work harder.
Compare motor current with past readings at the same speed and process load. A clamp meter can help trained staff measure current, but current alone doesn’t show exact output torque.
Record the product, batch, or process conditions when the gearbox runs hot. This helps determine whether the heat follows increased load.
Review Speed and Duty Cycle
Check the input shaft and output shaft speeds using installed readings or an approved tachometer method. Note any recent drive-setting changes.
Review the duty cycle, which means the pattern of running, stopping, and loading. Ask:
- Does the machine run longer?
- Have starts and stops become more frequent?
- Does it now start under a heavier load?
- Did the heat begin after a speed change?
Use guarded measurement points. Stop and isolate the machine before hands-on checks.
Compare Thermal and Mechanical Ratings
The mechanical rating relates to the load the gearbox can carry under stated conditions. The thermal rating relates to its ability to shed heat. Check both in the maker’s data.
Also review the service factor, a selection allowance for the job’s demands. Have the maker or a qualified specialist confirm that the gearbox suits the current use.
Compare temperature readings under similar loads and conditions.
Record motor current, input and output RPM, available torque readings, process load, runtime, start frequency, drive settings, and recent changes.
Are Bearings, Alignment, or Internal Wear Contributing?
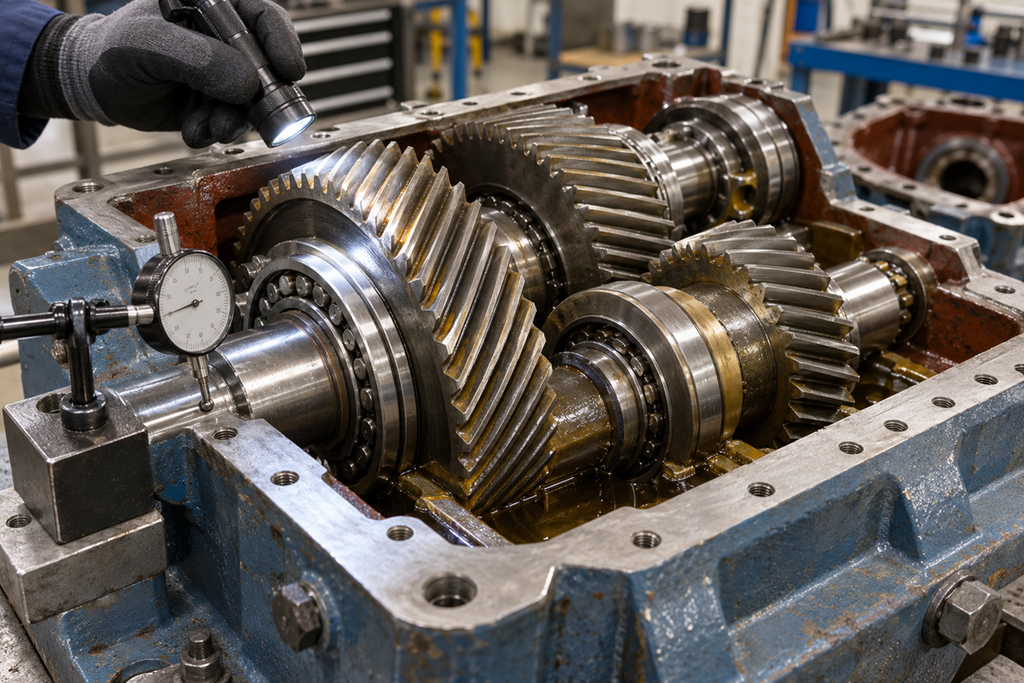
If oil, cooling, and load checks do not explain the heat, look for bearing wear, shaft misalignment, or internal damage. Heat can help locate a problem, but it cannot confirm the cause on its own.
Look for Localized Bearing Heat
Use a thermal imaging camera to check for hot spots around each rolling-element bearing. Compare readings with past checks at the same points, under similar loads.
Record any new noise or vibration near the hot spot. Gearbox bearing overheating may stem from poor lubrication or bearing damage. Manufacturer guidance lists both among the causes of high bearing temperatures.
Check Alignment and Mounting
A shaft coupling joins the gearbox to nearby equipment. Poor alignment can add stress and heat.
After shutdown and isolation, have trained staff check:
- Shaft alignment with a laser shaft alignment tool or another approved method.
- Loose gearbox mounting bolts and damaged supports.
- Soft foot, where a mounting foot does not sit flat.
- Signs of rubbing or damage near the shaft seal.
Investigate Possible Internal Damage
A specialist may use a vibration analyzer to check bearing signals and gear mesh frequency, the rate at which gear teeth engage.
Other checks may include:
- Inspecting the magnetic drain plug for wear debris.
- Using a borescope through an approved inspection point.
- Checking gear tooth wear and backlash (the clearance between mating teeth).
- Assessing bearing preload against the maker’s specifications.
Record hot-spot locations, load and speed, vibration readings, noise recordings, alignment results, and photos of debris or wear. Keep suspected causes separate from confirmed faults.
What Should You Include in a Gearbox Overheating Log?
A gearbox overheating inspection log should show what happened, how you checked it, and what changed. Keep readings in one place so your team can compare checks over time.
Use this table as a gearbox temperature monitoring sheet.
| Record group | Details to include |
| Equipment | Asset ID, maker, model, serial number, and mounting position |
| Inspection | Date, time, inspector, and runtime since startup |
| Temperature | Ambient, housing, oil sump, and bearing housing temperatures where measured |
| Measurement method | Tool, exact test point, units, and sensor type |
| Infrared settings | Surface emissivity setting and test distance, where relevant |
| Operating conditions | Process load, motor current, rotational speed, and duty cycle |
| Lubrication | Oil product, viscosity grade, level, oil hours, and last change date |
| Cooling | Fan status, cooler temperatures, and available pressure and flow readings |
| Mechanical signs | Noise, vibration, leaks, and visible damage |
| Recent changes | Repairs, oil top-ups, drive settings, or changes in production |
| Alarm and trip history | Code, time, reading, and action taken |
| Supporting evidence | Photos, thermal images, vibration files, and oil sample ID |
| Corrective action | Work done, date, and person responsible |
| Follow-up | Repeat readings, test conditions, outcome, and next check |
Make Each Reading Easy to Compare
Mark the temperature measurement points on a photo or sketch. Use the same points and methods on future checks. Keep both thermal images and clear photos.
Separate Facts From Suspected Causes
Write “not measured” when a reading is missing. Do not enter zero unless zero was the measured value.
Keep observations clear. For example, write “oil level below the marked range” rather than “low oil caused the heat” until the cause is confirmed.
For gearbox temperature, load, and speed logs, include units with every value. A reading without its location or operating conditions may be hard to use later.
How Do You Confirm the Problem Is Resolved?
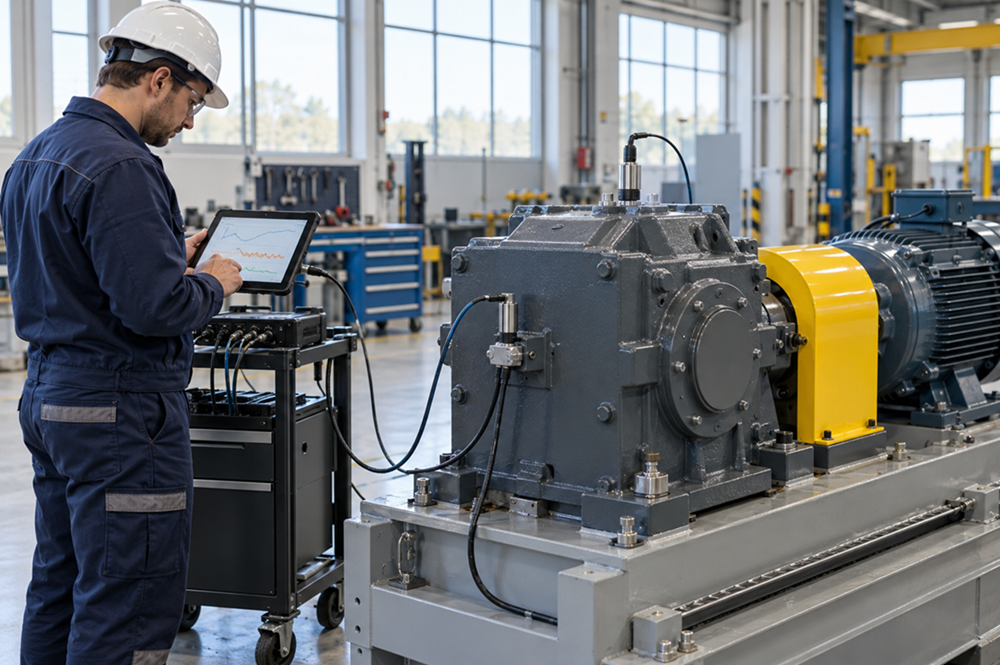
A cooler housing after a stop does not prove the fault is fixed. Check the gearbox during an approved test run and compare the results with its limits and past readings.
Record the Corrective Action
Complete a gearbox corrective action report. Note what was found, what work was done, and who did it.
Record oil changes, cooler cleaning, alignment work, or replaced parts. Keep the evidence that supports the confirmed cause. This makes future gearbox overheating root cause analysis easier.
Repeat Checks Under Similar Conditions
To verify gearbox temperature after repair, use the same marked test points and tools. Keep load, speed, and ambient conditions as close to the earlier test as practical.
During the test, record:
- Oil sump and housing temperatures, where measured.
- Bearing housing temperature at each test point.
- Motor current, speed, and process load.
- Oil pressure and flow, where fitted.
- Noise, vibration, leaks, and alarms.
Track the temperature from startup until it settles, following the maker’s test procedure. A light-load test alone may not show whether the gearbox can handle its usual work.
Check the Full Result
Confirm that readings stay within the maker’s limits. Review oil supply, noise, vibration, and heat.
If heat rises again or another warning appears, follow the stop procedure and reopen the investigation. Set a follow-up inspection based on the fault, equipment needs, and maker’s guidance.
Frequently Asked Questions
Can Too Much Oil Make an Industrial Gearbox Overheat?
Yes. Excess oil can cause churning, which adds drag and heat. Check the level using the maker’s method before adding or draining oil.
Why Does a Gearbox Overheat After an Oil Change?
Check the fill level, oil specification, and viscosity grade. Review other work done during the stop. Timing is a clue, but it doesn’t prove the oil change caused the heat.
Can a Gearbox Overheat When the Oil Level Is Correct?
Yes. Dirty oil, cooling faults, excess load, or worn parts can still cause heat. A correct sight-glass reading does not rule out other faults.
Can an Infrared Thermometer Measure Oil Temperature Inside a Gearbox?
An infrared thermometer aimed at the housing reads its surface. Use the approved oil sensor or test method to measure oil temperature.
What Should You Send to a Gearbox Repair Specialist?
Send the model, symptoms, temperature readings, test locations, load, speed, and service history. Add alarms, photos, oil test results, and vibration data where available.
Get Help With an Overheating Industrial Gearbox
Check temperature, lubrication, cooling, load, and mechanical condition. Keep clear records so your team can trace the cause and verify the repair.
If the cause remains unclear or the heat returns, contact Gearbox Repair Company to discuss inspection and repair. Share your gearbox details, symptoms, readings, and maintenance history so the team can review the problem.